Better-Bench, The Shower Bench Solution!


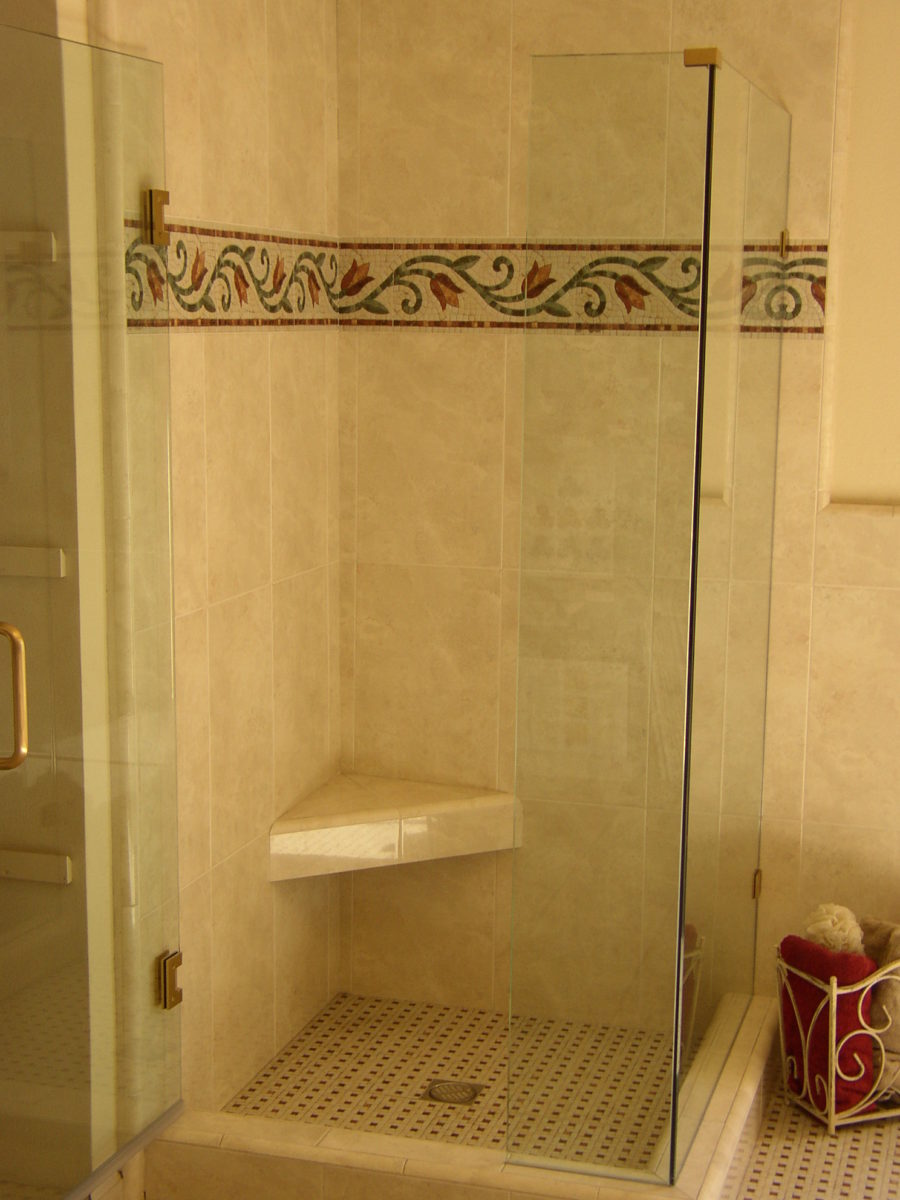
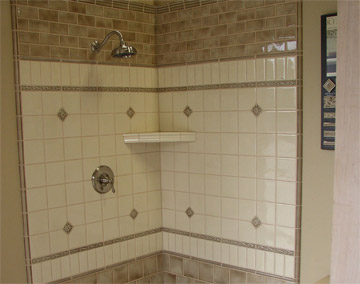
Better-Bench products are easy to install shower bench forming systems that replace the complex methods currently in use. This fully independent supporting bench unit can be mounted to most vertical surfaces quickly and efficiently, saving the installer valuable time. What once took days can now be done in about an hour!
NEWLY DESIGNED R26 ADJUSTABLE BENCH!!!
The NEWLY designed R26 Bench is NOW ADJUSTABLE, expanding from 19″-32″. This new version of the R26 offers the same value of the smaller bench, but with the flexibility to expand to a longer length to meet those in between needs. For more details, see the Adjustable Bench page!


- Engineered 400 lb load capacity on all Better-Bench products, 100 lb load capacity on the Better Tray (BT-17)
- Install before or after finish tile is applied to vertical surfaces.
- Self-supporting, one-piece frame is easy to install with supplied fasteners, requiring no additional waterproofing or structural reinforcement.
- Use in wet or dry locations; mount over any U.B.C. approved substrate material.
- Takes only minutes to mount, place mortar mix (sand & cement), and tile as desired.
- Long lasting and corrosion resistant materials throughout.
Better-Bench® products are manufactured in the U.S.A.
Products listed below are produced of an alloyed aluminum and are sent as one piece. All products are supplied with hollow wall anchors and wood screws. Fastening to studs, blocking, or other framing members is not required. If framing members are encountered, discard hollow wall anchor and use the provided screw with an appropriate pilot hole.