ADJUSTABLE RECESS-IT
Installation Instructions
STEP 1
|
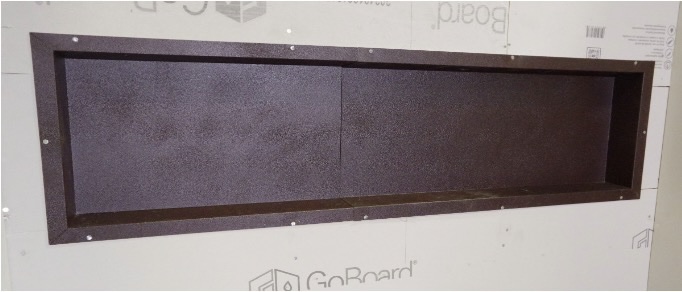 |
STEP 2
|
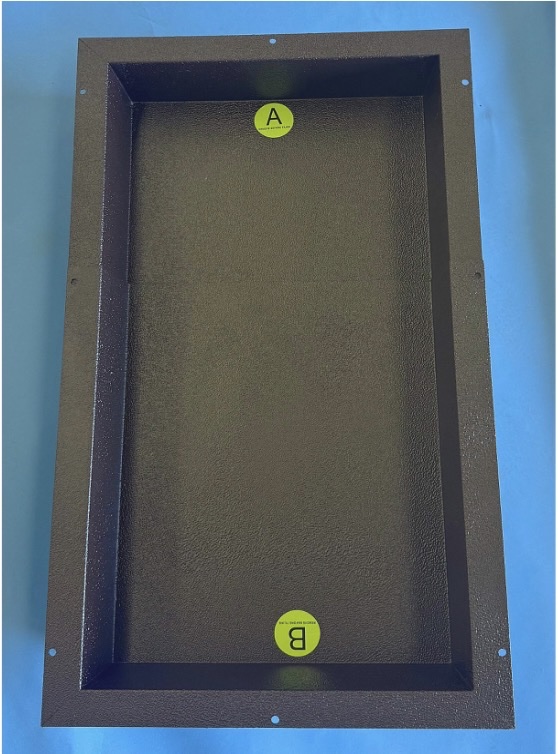 |
STEP 3
|
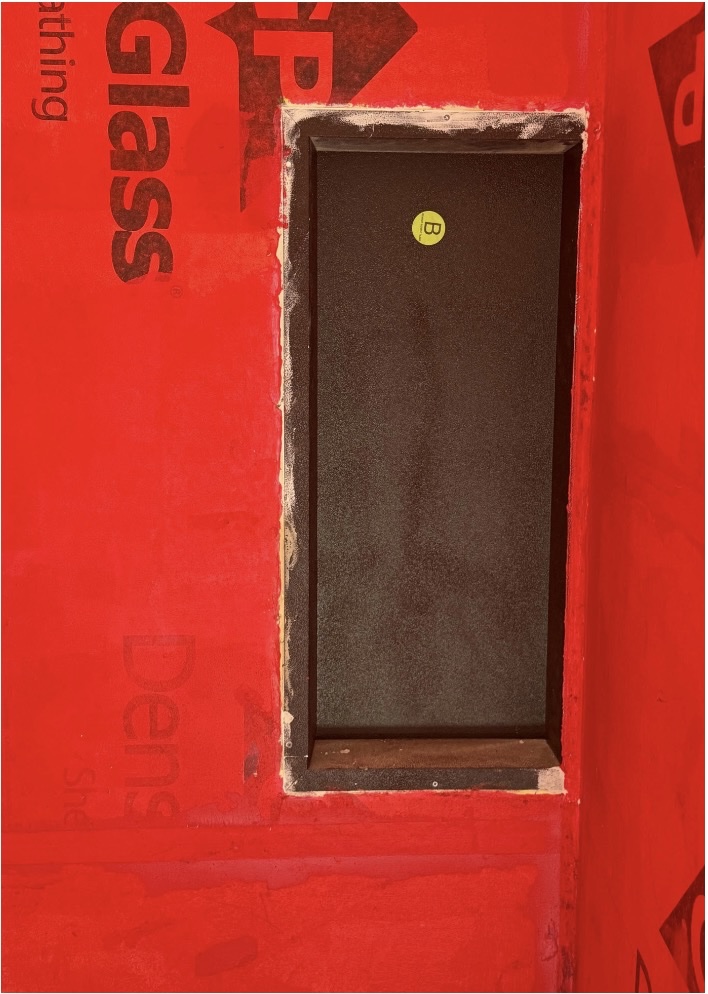 |
STEP 4
|
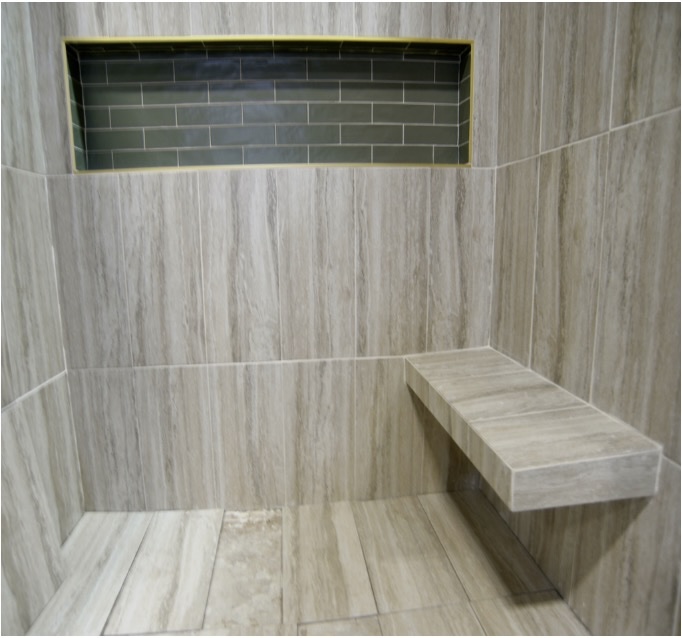 |
Floating-Shelf
Place the Floating Shelf directly on the top edge of the
selected tile course. Apply surface bull-nose tile (SBN)
or other finish material to the top and bottom of the
Floating Shelf by using thin-set or mastic to
“sandwich” the shelf unit. Allow the front edge of
applied tiles to extend 1/8” minimum to allow for grout
coverage of the shelf.